To be honest, I've wanted to build a custom-sized pin up board for a while now. In fact, I think it's been on my to-do list for over a year. Anything custom can be scary, especially when straightforward DIYs are difficult to find. Believe me, I searched for pin up board tutorials and didn't find much. It could be my google skills but regardless, with a lack of search results, I felt intimidated.
In a world full of pinterest boards, it felt a little unnecessary to be so committed to a real-life pin up board. I mean, is it really necessary to have a board full of tangible paper goods and random inspiration? Well, I think so.
I love building things with my hands. And it's been a while since I had a project where I could get messy. I was craving a reason to work with my hands and this seemed like the perfect opportunity. So like you might expect, I began plotting out my approach and preparing a supply list for my custom-sized pin up board, approximately 48"x 12". The final supply list looked something like this:
- particle board: 48" x 12"
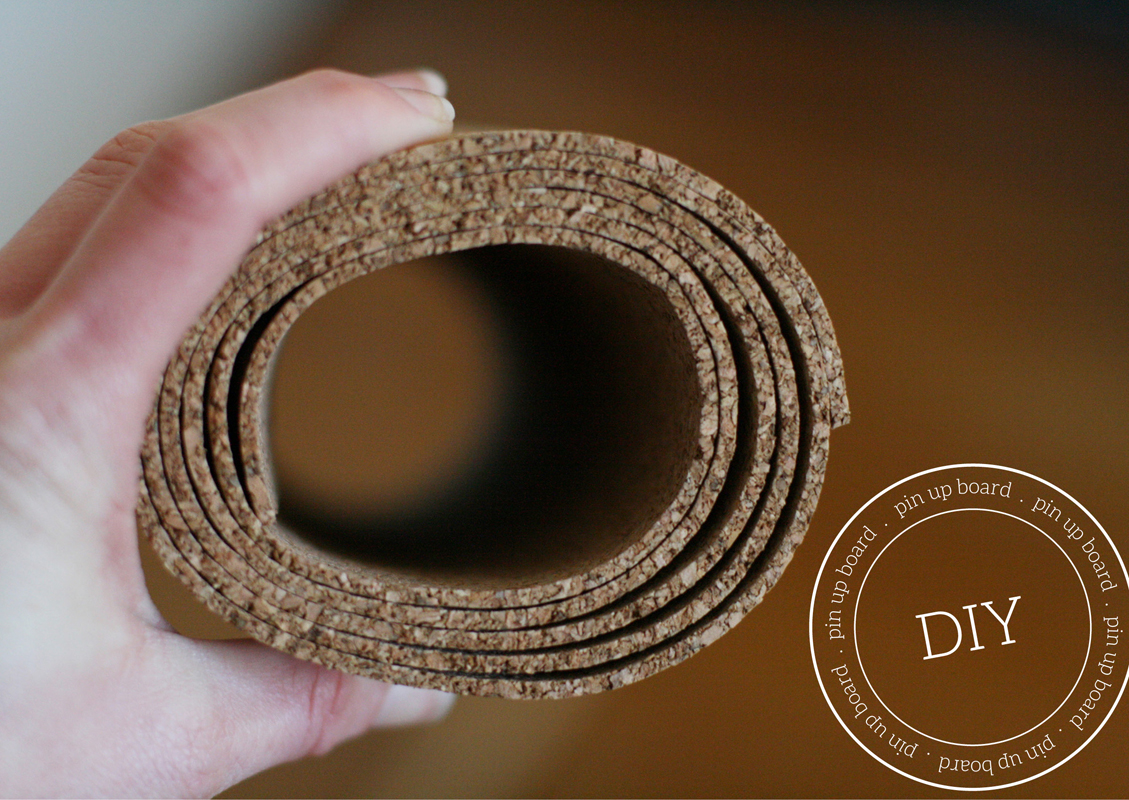
- roll of cork (I bought the thickest cork I could find, that would also cover the board in its entirety, without any seams.)
- can of spray adhesive
- sharpie marker
- utility knife
- (2) - 1/4" L-shaped wood trim pieces, 8' long
- your saw of choice (It can be small since you only need to cut the trim pieces.)
- white spray paint
- liquid nails (I used the clear option but I'm not sure it worked as well as the opaque would have.)
- old books (These are used to elevate the board and trim above the work plane and to expedite the curing process)
- photo hanging hardware
I took photos of each step with my "real" camera but when my memory card unexpectedly erased all of my documentation, I was grateful I captured most steps with my iPhone too. Below I'll share the steps I took to make my vision for a physical inspiration board a reality.
01 | Accompanied by lots of gratitude, ask your home improvement team of choice to cut the particle board to size. Choose board proportions that work for you and your space.
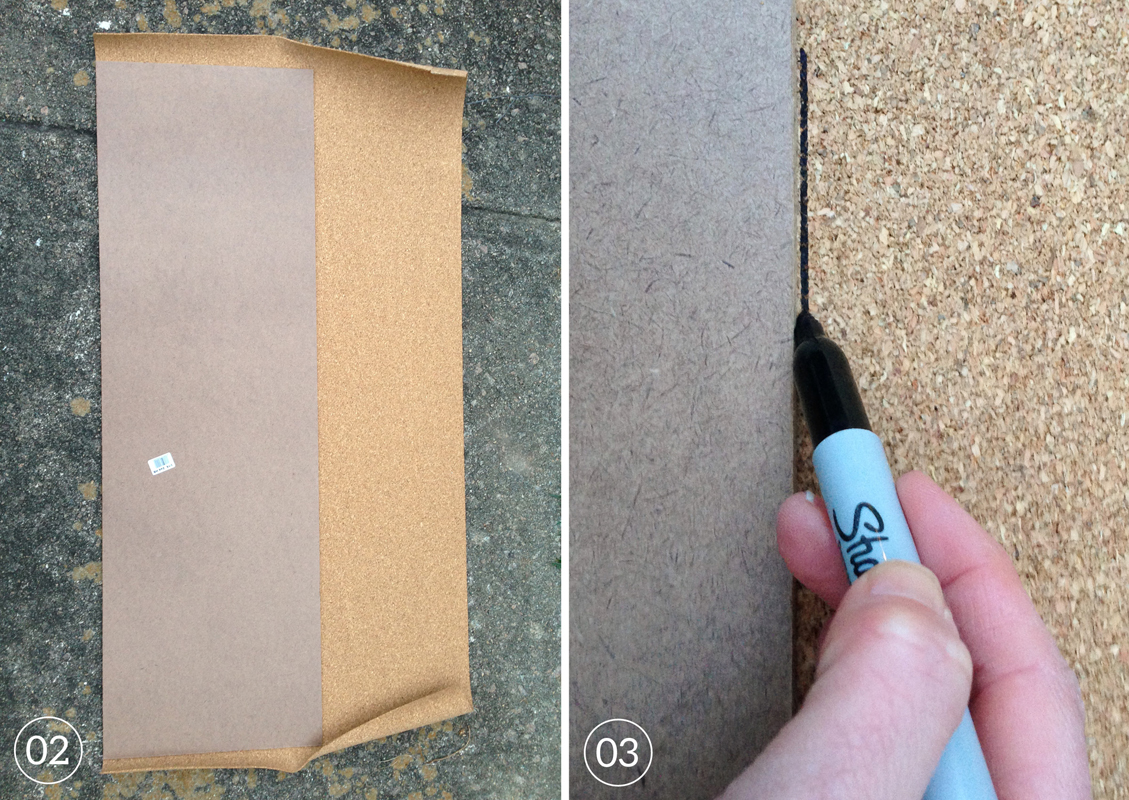
02 | Apply spray adhesive to the particle board, and then carefully lay the board (sticky side, face down) onto the rolled out cork. Use a generous amount of spray adhesive since cork is extremely porous and don't forget to cover the edges and corners.
03 | Once the cork and board are safely attached, trace around the particle board with a Sharpie marker to outline the designated trimming zone.
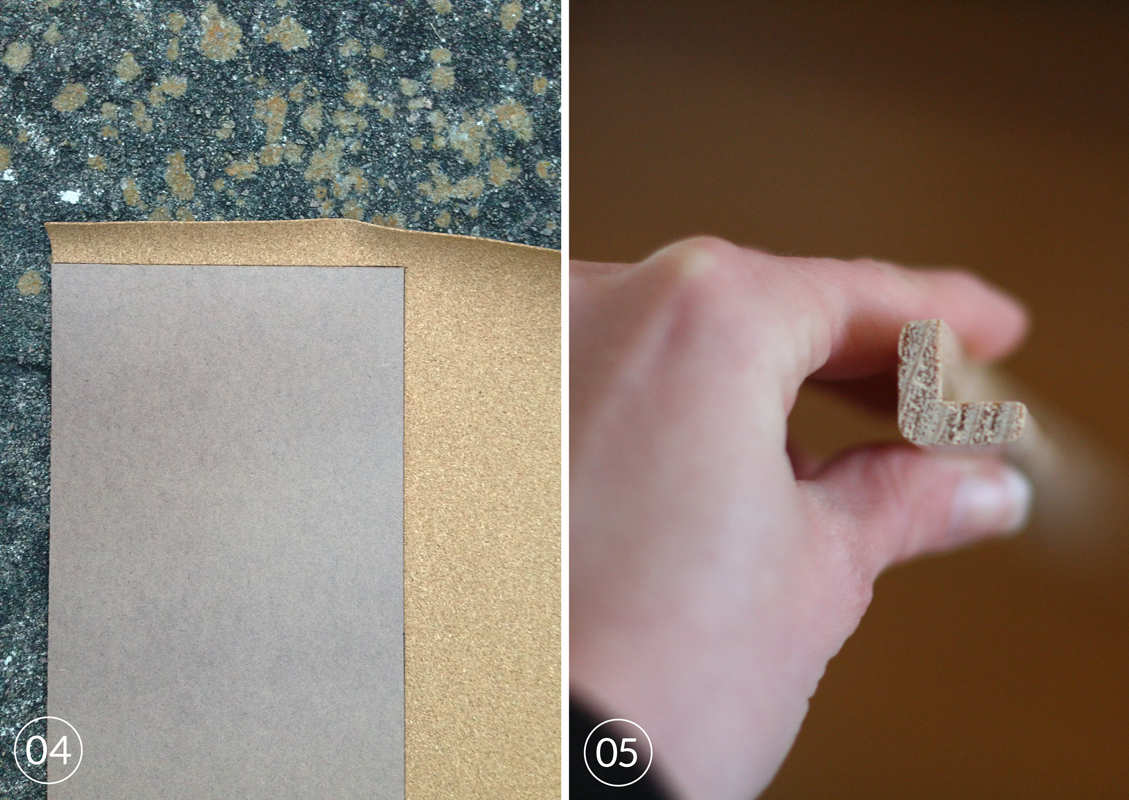
04 | Trim the cork away from the particle board. I learned that using the utility knife to score the cork in one straight line doesn't work very well. The most effective approach is to try and perforate the cork with the utility knife along the Sharpie line. Eventually, you can score the cork and it will cut away cleanly. (Since the cork is pretty fragile I accidentally tore it in a few places but was able to cover up these imperfections with the wood trim.)
05 | Cut the L-shaped edging trim to size. (I mitered the corners with a small saw we already own. Since we don't have a mitering saw, this was definitely a trial-and-error process, for me. It involved a lot of measuring and assembling. I wish I could explain this process more clearly, but it's a little difficult to explain, after the fact.) Before moving onto the next step, be sure that the L-shaped trim pieces fit well around the edges of the board and that the corners of the trim match up.
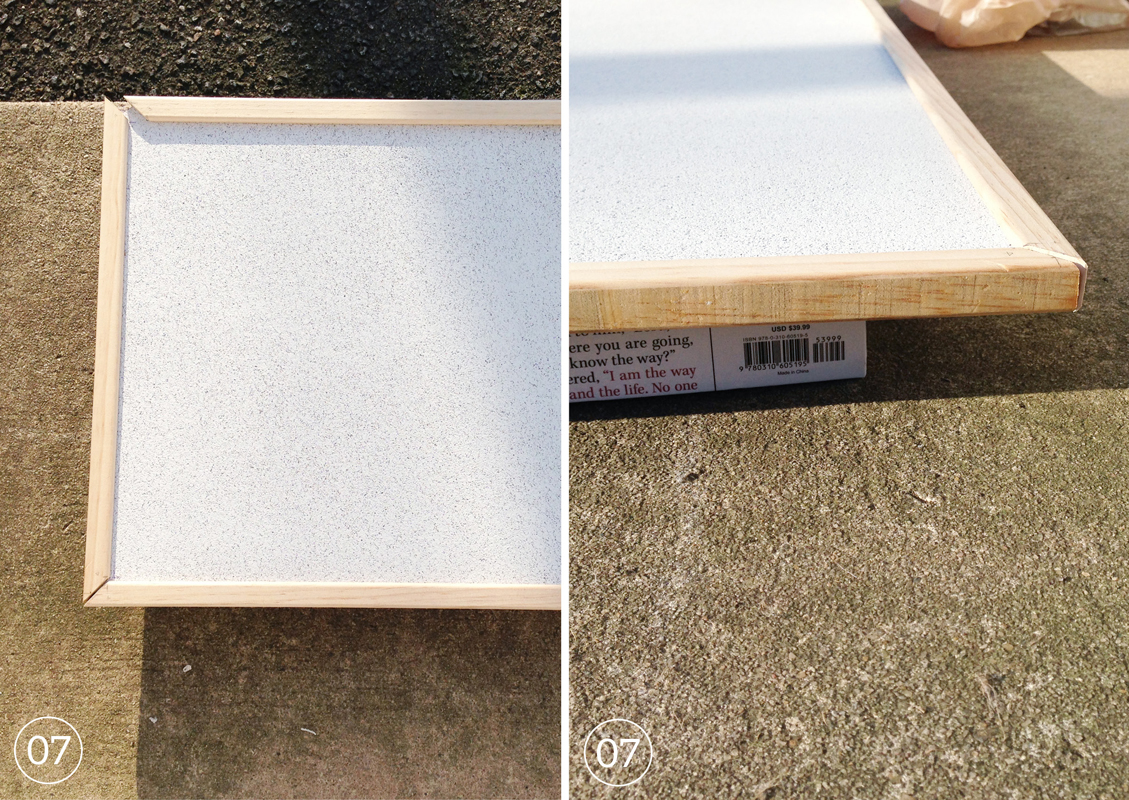
06 | Spray paint the cork board. Honestly, it would have been more effective to paint the cork with a paint brush. Since the cork is so porous, I almost used an entire bottle of spray paint to achieve a thorough coat of white paint.
07 | Glue the trim to the cork board with liquid nails. I completed this process outside, but in cooler temperatures the glue took a little longer to cure. In my experience, this process seemed to work better the second time around. I elevated the board and trim above the ground by placing books below them. This way I could easily access all sides and gauge where the glue was really sticking.

08 | Drill pilot holes into the back of the particle board. Be careful not to drill too deep. You want to avoid penetrating the cork on the front side. Once the holes are drilled, screw in the picturing hanging hardware.
09 | Finally, it's time to hang the pin up board on the wall.
10 | Now for the fun part, pin away!


That's it. TaDa!